There is nothing better than baking your own bread. With just a few ingredients and some practice, anyone can do it. I’ll show you from my experience what you should pay attention to and how it will certainly succeed. Once I explain to you the bread with sourdough and for a change another bread with yeast. Both types are sensationally fantastic. See also my different breads. So let’s get started with my instruction bread baking.
Instruction bread baking
Baking bread is not as difficult as you might think. Of course, you need a little practice, so that you get it nice and soft and crispy at the same time. Above all, it should be well done on the inside. But there is the “knocking method”, so you know that it is baked through. In addition, the bread dough should be well “rounded” or “folded” so that the texture is tightened. With my instruction bread baking you will certainly succeed.
Instruction bread baking
Ingredients
Method
- The bread with sourdough I always prepare a day in advance. The longer it matures, the better it can develop.
- Mix the flour and salt. Then add the finished sourdough and pour the water. The water can be lukewarm or cold.
- Mix and knead the dough mixture.
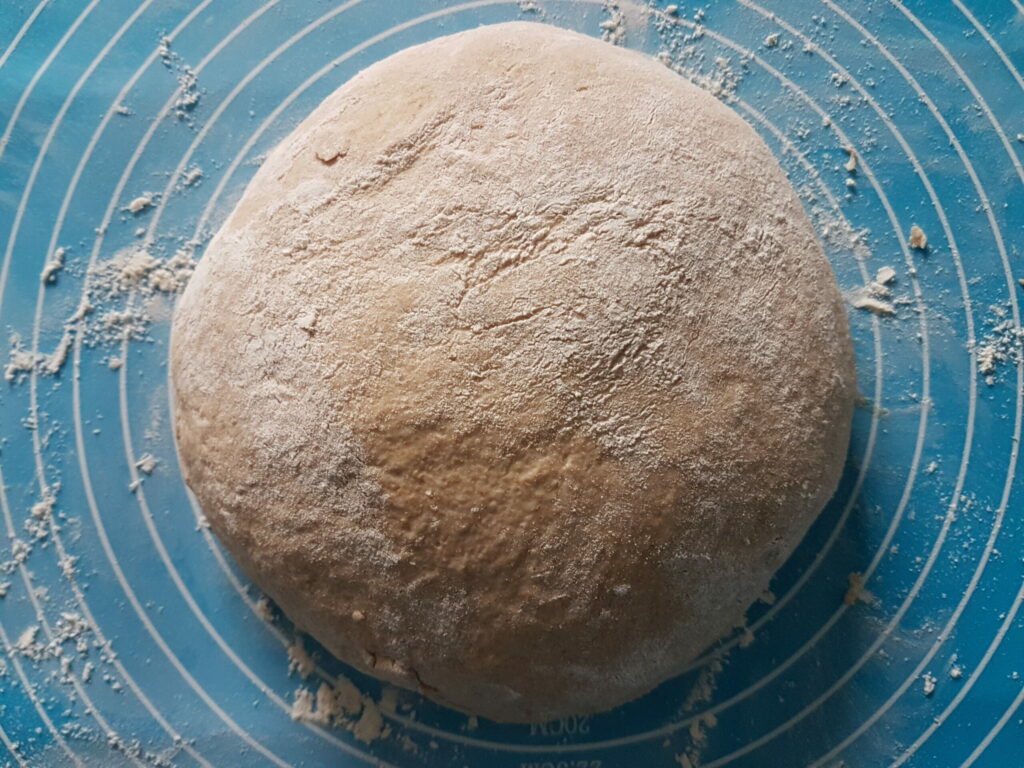
- The dough should be firm rather than too soft. Do not be irritated if the dough feels a bit firmer. This is exactly the right consistency.
- Then put the bread dough in a larger bowl and cover it. Either with a tea towel or with foil.
- Let the dough rest. You can knead it again briefly after about 2 hours. This will shape the texture. But you do not have to.
- After that, the dough should definitely be left to rise overnight at room temperature.
- The other day, transfer the dough to a floured surface and shape it into a round or oblong dough using the "rounding" or "folding" method.
- Then place it in a proofing basket, previously lined with a cloth and flour.
- Place the bread dough in the proofing basket with the "cap" facing down.
- Now let it rest covered for about 2 hours.
- Pour the bread dough into a coverable pan lined with baking paper.
- Now the "cap" points upwards after the dough has been tipped into the mold in reverse.
- Cut the top of the dough a few more times and then bake, covered, in the oven.
- How long and at what temperatures you can see in my individual bread variations.
- Mix all dry ingredients. Add lukewarm water and knead the dough.
- Let it rise covered at room temperature for 1 hour.
- Place the dough on a floured surface and knead briefly.
- Then "round" or "fold" and let rise again covered for about 2 hours.
- Then place the dough in a mold lined with baking paper and bake the bread in the oven, covered.
- Mix the fresh yeast with a little warm water in a cup until it liquefies.
- Put all the dry ingredients in a bowl. Add the liquid yeast and fill up with lukewarm water. Then knead the dough.
- For more steps, see whole spelt bread with dry yeast.
Notes
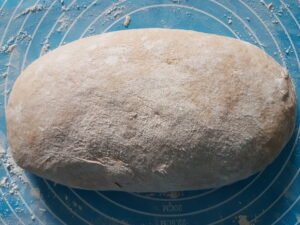 Elongated shape
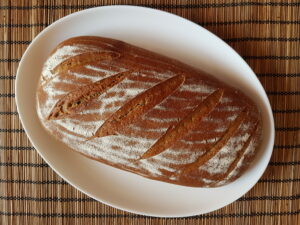 and this is how the bread looks ready baked.
Tips
Here come the tips instruction bread baking:
Make sure that the bread dough does not mature too long in the proofing basket, otherwise it will run over the edge and become extremely soft. As a result, it will not keep its tight shape.
If you have no time or desire to prepare the dough the night before, you can of course bake a loaf of bread in one day. However, this requires a much longer proofing time. The maturing time in the proofing basket is then about 3 – 4 hours.
It is very important that you do not knead breads made with spelt flour for too long. Otherwise, the property of spelt flour becomes too soft and it no longer sticks so strongly. But with these instruction bread baking nothing can go wrong.
Sometimes, however, it happens that the individual slices of the finished bread have holes inside. This can then come from the fact that either the bread was not tightly enough rounded or folded, or that the dough has matured too long in the proofing basket and thus became too soft. In the beginning, I always had these holes in it. Eventually, however, I had the right processing and the degree of maturity out. You see, my instruction bread baking is not so difficult. And with a little perseverance, you can do it too.
Now for tips on baking bread with fresh yeast or dry yeast.
If you use yeast, any yeast, then you can prepare and bake the bread the same day. However, I have also had the best experience preparing the dough the night before. The advantage is that you then only need “half” the amount of yeast. No matter whether dry yeast or fresh yeast. However, here you should always infuse with cold water. Then at room temperature or also gladly cooler over night let mature. The further process is then identical to my instruction bread baking with sourdough.
Finally, a brief explanation of what actually means “rounding” and “folding” and how to do this.
Rounding: Place the dough on a floured surface. Press it lightly with your hands. Hold it with the heel of your left hand, and with the fingers of your right hand, turn a third of the dough in toward the center. Press it firmly and then lightly turn the entire bread dough to the left. Then proceed again with the same instructions until you notice that the dough becomes firmer and rounds. Do this about three to four times. Finally, hold the entire top closure of the dough tightly with your left hand and at the same time squeeze and shape the dough with your right hand. Then flour the dough and put it in a proofing basket with the cap down.
Folding: In principle, folding is also responsible for the dough to become firmer and the air bubbles disappear. To do this, place the dough on a floured surface. Then stretch it slightly upwards with both heels of your hands to form a rectangle. Now turn the dough first from left to right, always up to the middle. Then from top to bottom or vice versa. Now flatten the dough a little bit and stretch it again. Repeat the whole process two to four times until the dough feels firm and tight.
So, that’s the whole art of baking bread. With this instruction bread baking you will certainly achieve the right success. Good luck with it.
Interesting to know
Less salt is more is my motto. Most store-bought breads are baked with a lot of salt. But that does not have to be. Salt is important, but you don’t need much and too much salt is unhealthy. Therefore, you should choose a good balance in between and save salt where you can. In breads, I don’t think it’s necessary to add so much salt. A tasty spread on it and the flavor is highlighted right away. My instruction bread baking is just awesome.

